
The MACD and Bollinger Bands strategy offers a potent, rules-based approach to navigating the markets by merging momentum and volatility analysis. This powerful method helps you identify high-probability entry and exit points by demanding confirmation of trend strength during key market phases. For any trader searching for a dependable system, learning how to use MACD and Bollinger Bands together is a genuine breakthrough. Whether you’re working with a specialized online forex broker or trading equities and crypto, this guide provides a deep dive into two core setups, strict risk protocols, and the practical execution needed to trade with newfound confidence.
Key Takeaways
- Dual Confirmation is King: The strategy’s true edge comes from using Bollinger Bands to spot a high-potential setup (like a volatility squeeze) and then waiting for the MACD to confirm the underlying momentum before committing to a trade.
- Two Core Battle Plans: You’ll master two essential tactics: the “Squeeze Breakout” for riding new, powerful trends and the “Trend Reversal” for skillfully catching market tops and bottoms.
- Trade with Rules, Not Emotions: This is a complete system with clear, non-negotiable rules for entry, stop-loss placement, and profit targets, helping to sideline the emotional decisions that often sabotage traders.
- Risk Management is Non-Negotiable: Lasting success is impossible without disciplined risk control. The strategy provides specific, logical guidelines for stop-loss placement to preserve your capital.
- Chart Time is Mandatory: Before you risk a single dollar, you must put in the work by backtesting and demo trading these setups. This is how you build true competence and trust in the MACD and Bollinger Bands strategy.
1. A Potent Volatility & Momentum Mix
So many traders stumble by using their technical indicators in a vacuum. They see price hit a Bollinger Band and jump into a reversal, only to get run over as the trend continues. Or they blindly chase a MACD crossover without any regard for the market’s volatility. Through years of chart time, one of the most vital lessons learned is that indicators are exponentially more powerful when they work as a team. The MACD and Bollinger Bands strategy is the gold standard of this synergistic approach, creating a trading system far more robust than the sum of its parts.
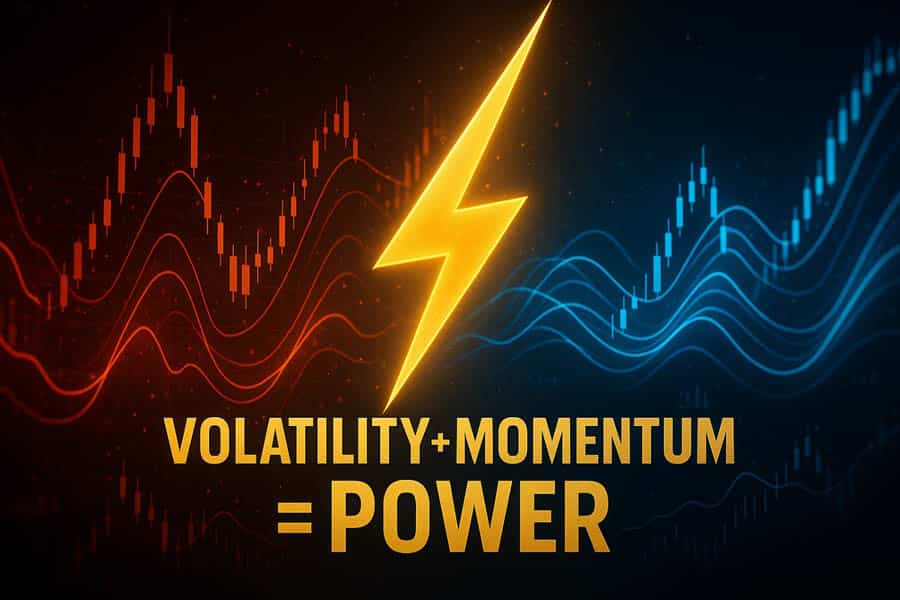
Why This Combination Works So Well
Think of it this way: Bollinger Bands are brilliant at giving us the lay of the land. They map out the dynamic battlefield of price action, showing us when the market is quiet and consolidating (“in the trenches”) or when it’s explosive and volatile (“a full-on assault”). The MACD, on theother hand, is our intelligence officer. It’s a pure momentum oscillator that tells us about the strength and directional conviction of the underlying price movement. Combining them creates an essential filter that has saved countless accounts from false signals.
The Core Principle Explained
What this all boils down to is a simple, powerful principle: we only take action when volatility and momentum are in complete agreement. When the Bollinger Bands signal a potential breakout from a period of low volatility, we don’t act on impulse. We patiently wait for the MACD to give a confirming signal that real, powerful momentum is fueling that move. Similarly, if the price makes a wild, unsustainable push outside the bands, we look for MACD divergence—a clear sign that momentum is drying up—before even considering a reversal. This principle of dual confirmation is the very foundation of the entire MACD and Bollinger Bands strategy.
The Two Key Setups to Master
To keep this guide intensely practical, we’re going to focus on the two most reliable setups this indicator duo produces. If you can master these, you will have a clear, actionable plan for two of the most profitable scenarios you’ll encounter in the market.
- The Bollinger Band Squeeze Breakout: For entering a fresh, powerful trend at its inception.
- The Trend Reversal at Extremes: For identifying and trading a potential turning point in the market.
2. Each Indicator’s Specific Job
Before we break down the step-by-step rules, it’s critical to internalize the specific role each indicator plays. Don’t think of them as just lines on a chart; think of them as specialists on your team. Each has a precise job, and a trade is only authorized when they both give the green light. Understanding how to use MACD and Bollinger Bands together effectively means respecting their individual roles.
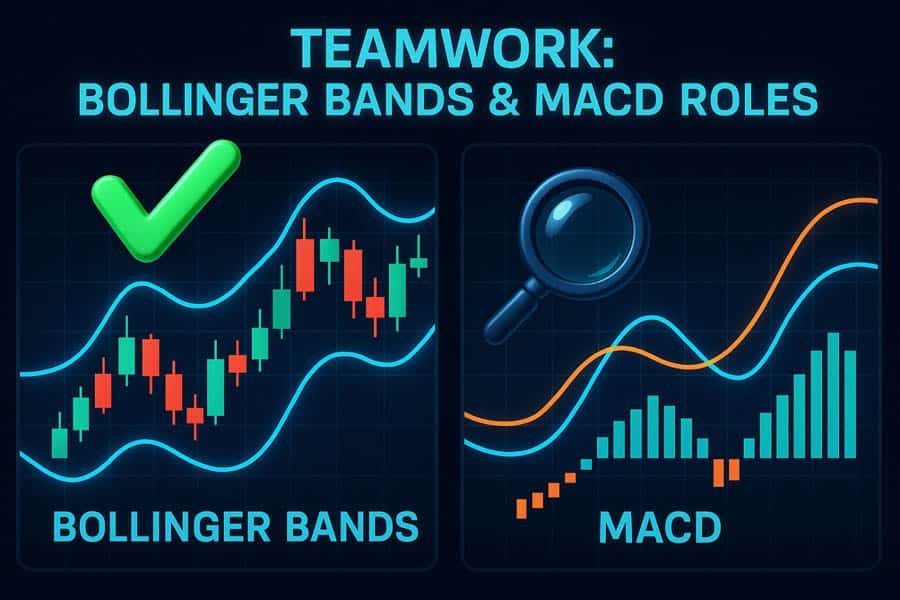
Bollinger Bands: The Volatility Context
The Bollinger Bands are our “Context Specialist.” Their number one job is to frame the price action and give us a live reading on market volatility. Comprised of a 20-period simple moving average (the middle band) and upper/lower bands set at two standard deviations, they are dynamic channels that contain most of the price action.
Role: Setup Identifier. We use the Bollinger Bands to scan the market for specific, high-probability conditions. We’re on the lookout for:
- Low-Volatility “Squeezes”: When the bands narrow and move tightly together, it’s a visual cue that the market is consolidating and coiling energy for a massive release. This is the setup for our bread-and-butter breakout strategy.
- High-Volatility Extremes: When price makes an aggressive move and closes far outside an upper or lower band, it’s a sign that the move is overextended and could be due for a sharp pullback. This becomes the setup for a potential reversal trade.
MACD: The Momentum Confirmation Engine
The Moving Average Convergence Divergence (MACD) is our “Confirmation Specialist.” Its job is to validate the setup that the Bollinger Bands have identified. It’s a pure momentum tool that measures the relationship between two moving averages. It’s our lie detector.
Role: Trade Trigger. Once the Bollinger Bands flag a potential setup, we look to the MACD for the final authorization to act. It provides this trigger in two primary ways:
- Momentum Confirmation: For a breakout, we need to see the MACD line cross its signal line with authority, and for both lines to be moving decisively away from the central zero line. This confirms that real money and momentum are behind the breakout.
- Momentum Divergence: For a reversal, we need to spot a disagreement between price and the MACD. For instance, price making a new high while the MACD makes a lower high is a glaring red flag that momentum is failing, providing powerful confirmation for a potential short trade.
Read More: How to use bollinger bands in forex trading
3. The Core Strategies: Two Rules-Based Setups
This is where the rubber meets the road. We now translate the theory into a concrete, repeatable trading plan. A profitable strategy is defined by its rules, and I’ve found that unwavering discipline in following these checklists is what separates successful traders from the rest. Your only job is to wait patiently for every single condition to be met before putting capital at risk.
Strategy 1: The Bollinger Band Squeeze Breakout
This is the cornerstone of the MACD and Bollinger Bands strategy. It’s designed to get you into a trade right as a period of boring consolidation erupts into a powerful new trend. These are the moves that produce the most significant returns, and this setup is your ticket to ride them.
Checklist
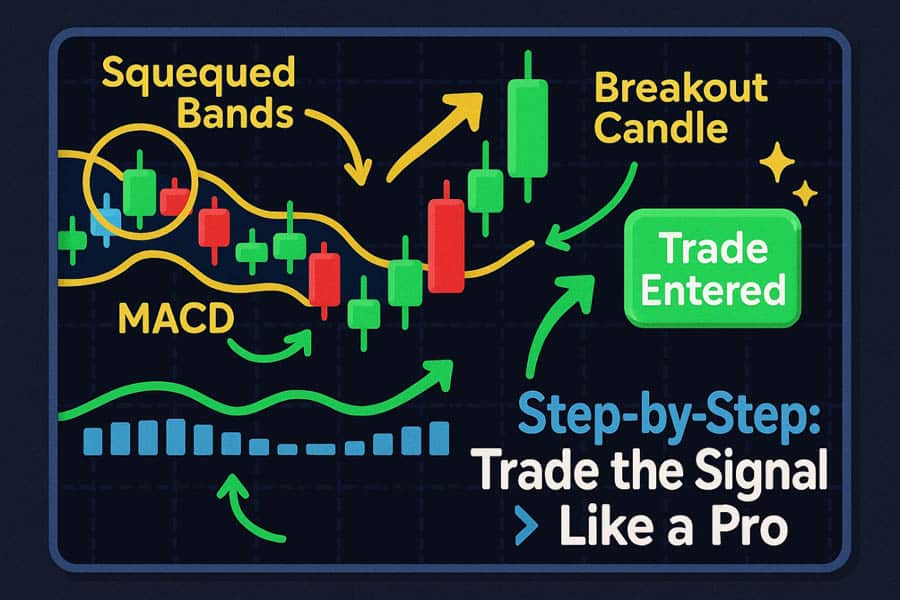
- Step 1 (Setup): Identify the “Squeeze.” The first thing we train our eyes to spot is the Bollinger Bands contracting, getting narrow, and moving sideways. Volatility has vanished. We confirm this by glancing at the MACD; its histogram should be flat and hugging the zero line, showing momentum is non-existent. The market is coiling like a spring, and we are ready.
- Step 2 (Trigger): A Strong Candle Closes Outside the Band. We then wait for a single, powerful candle to close decisively outside the upper or lower band. We’re not interested in a timid wick poking out; we need to see conviction. A long-bodied candle shows clear intent from buyers or sellers. This is the breakout, the first sign of life.
- Step 3 (Confirmation): MACD Confirms the Momentum. This is the step that filters out so many false signals and is a key part of how to use MACD and Bollinger Bands together professionally. On the same candle as the price breakout, we need the MACD to agree. For a bullish breakout, the MACD line must cross above its signal line. For a bearish breakout, it must cross below. The more separation from the zero line, the better.
- Step 4 (Entry): Enter on the Close of the Confirmation Candle. Only when all three preceding conditions are met do we act. The entry is executed on the close of the candle that confirms both the price breakout and the MACD signal. Entering before the candle closes is a classic rookie mistake driven by FOMO. Patience is a virtue here.
Strategy 2: The Trend Reversal at Extremes
This is a more advanced setup designed to pinpoint market tops and bottoms. As a counter-trend strategy, it requires more skill and carries slightly more risk, but the rewards for catching a major turning point can be immense. Here, we use the indicators to spot when a trend is exhausted.
Checklist:
- Step 1 (Setup): Price Touches or Exceeds the Band. We look for a market that has made a strong, sustained move and is now trading at or outside the upper (for a short) or lower (for a long) Bollinger Band. This tells us the price is statistically overextended and vulnerable.
- Step 2 (Trigger): A Clear Divergence Forms. This is the heart of the reversal trade. We need to see a clear conflict between price and the MACD.
- Bearish Divergence (for shorts): Price action forges a new higher high, but the MACD indicator prints a *lower* high. This is a massive tell that the momentum driving the uptrend is fading fast.
- Bullish Divergence (for longs): Price action makes a new lower low, but the MACD prints a *higher* low. This shows that selling pressure is drying up, and the bears are losing control.
- Step 3 (Confirmation): A Reversal Candlestick Pattern Forms. Right at the Bollinger Band, with our divergence confirmed, we need a final signal from the price itself. We look for a classic reversal pattern like a strong Engulfing Bar or a long-wicked Pin Bar (Hammer/Shooting Star). This is the market confirming the shift in power.
- Step 4 (Entry): Enter on the Close of the Reversal Candle. The entry is made on the close of that reversal candlestick, but *only if* the MACD divergence is clearly in place. No divergence, no trade. It’s that simple. This rule has saved me from countless bad trades over the years.
4. Execution Blueprint: A Trade Walkthrough
Let’s make this crystal clear by walking through the most common setup: Strategy 1, The Squeeze Breakout. Seeing this MACD and Bollinger Bands strategy play out on a chart solidifies the rules and makes the process intuitive.
Chart: Identifying the Squeeze
First, our eyes scan for those narrow Bollinger Bands. We find a multi-day period where the price is stuck in a tight chop, and the bands have squeezed in tightly. A quick check of the MACD confirms it’s flat and near zero. The market is in a deep slumber. This is our Step 1 setup. We are now in “wait and watch” mode.
Chart: Spotting the Breakout Candle
Then it happens. A large, powerful bullish candle forms. It opens inside the quiet range but its body closes well above the upper Bollinger Band. It’s a statement of intent from the bulls. This is our Step 2 trigger. The breakout is on. But we hold our fire.
Chart: The MACD Momentum Confirmation
We immediately look down to our confirmation specialist. On that exact same candle, the MACD gives us the all-clear. The blue MACD line has crossed cleanly above the red signal line, and both are angled up, showing accelerating momentum. The histogram bar is long and green. This is our Step 3 confirmation. Volatility and momentum are now perfectly synchronized.
Chart: Executing the Trade
With every checkbox ticked on the close of that one breakout candle, we execute our entry. A buy order is placed at the market price. The very next action is to set our safety nets. The stop-loss is placed at the middle Bollinger Band (the 20 SMA). Our initial profit target is set at a 1:2 risk/reward ratio. Now, the trade is active, and our job is to manage it according to the plan.
Read More: MACD Indicator in Forex Trading
5. Mandatory Risk Management Rules
Let me be direct: a strategy without iron-clad risk management is nothing more than a glorified way to gamble. This is the part of the plan that keeps you in the game. If you treat this section as optional, none of the setups above will make you profitable long-term. This disciplined approach to risk is a core tenet of the MACD and Bollinger Bands strategy.
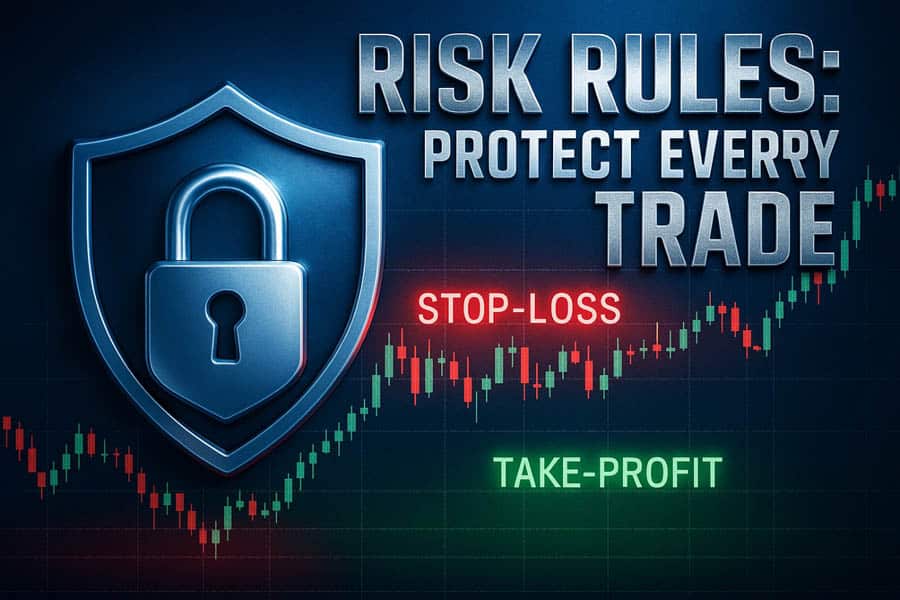
Stop-Loss Placement Rules
Your stop-loss is your emergency brake. It’s the pre-defined point where you accept the trade idea was wrong and you exit to fight another day.
- For Squeeze Breakouts: The most logical and effective place for the stop-loss is the middle Bollinger Band. This line is the mean, the average price. If a breakout fails so spectacularly that it reverses all the way back through the mean, the upward momentum is gone. The trade is invalid.
- For Reversals: This one is more straightforward. For a short trade at a top, the stop goes just above the high of the reversal candle. For a long trade at a bottom, the stop goes just below the low of the reversal candle. This protects you against an immediate continuation of the prior trend.
Take-Profit Strategy Options
Knowing when to cash in your chips is a skill in itself. Here are two proven methods.
- Method 1 (Active Management): For traders who can monitor the trade, this is a great way to maximize winners. You stay in the trade as long as the MACD confirms the momentum. In a long trade, you hold as long as the MACD line remains above the signal line. The moment it crosses back under, you take your profit. This allows you to ride a powerful trend for all it’s worth.
- Method 2 (Set & Forget): Perfect for busy traders. Before entering, you define your risk (distance from entry to stop-loss). You then set a take-profit order at a fixed multiple of that risk, with 1:2 being a solid minimum. If you’re risking 50 pips, your profit target is 100 pips away. It’s simple and removes in-trade decision-making.
6. Mastering the Strategy: Practice and Psychology
Knowing the rules of the MACD and Bollinger Bands strategy is just the beginning. True mastery, the kind that leads to consistent results, is forged in the fires of practice, discipline, and managing your own psychology. It’s easy to spot a perfect setup in hindsight; executing it flawlessly with real money on the line is a different sport entirely.
The Power of Dual Confirmation
If there’s one thing to take away from this entire guide, it’s the power of demanding confirmation. One of the biggest “aha” moments in a trader’s journey is realizing that you don’t have to trade every signal. By requiring a green light from both a volatility indicator (Bollinger Bands) and a momentum indicator (MACD), you are building an elite filtering system. This patience will dramatically improve the quality of your trades.
Backtesting and Demo Trading are Key
You wouldn’t drive a race car without extensive practice. Don’t trade a new strategy without it either. Before going live, you must complete two phases:
- Backtest: Scroll back on your charts and find every single setup that met the strategy’s rules. Log them. Track the wins, losses, and overall performance. This isn’t just about results; it’s about training your brain to recognize the pattern instantly.
- Demo Trade: Open a demo account and trade the strategy in a live market with zero financial risk. This is where you practice the mechanics of execution, managing the trade, and dealing with the emotional ebb and flow of a live position.
Avoiding Common Trading Mistakes
Even with this powerful MACD and Bollinger Bands strategy, it’s easy to self-sabotage. Be vigilant against these common errors:
- Jumping the Gun: Entering before the candle closes and before the MACD confirms. This is pure impatience and the number one killer of this strategy’s edge.
- Ignoring Risk Rules: Thinking “this setup is a sure thing” and using a wider stop or no stop at all. This mindset is a direct path to blowing up an account. Your risk rules are sacred.
- Betting the Farm: Using too large a position size for your account. Even a 60% win-rate strategy will have a string of losses. Proper position sizing ensures you survive those drawdowns to trade another day.
Opofinance Services
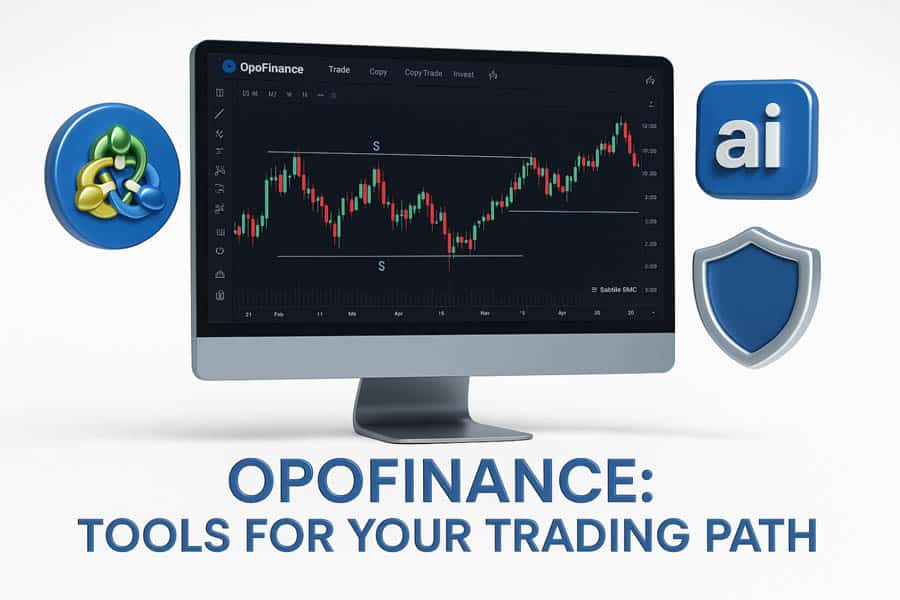
To execute sophisticated systems like the MACD and Bollinger Bands strategy with precision, your choice of broker is paramount. Opofinance, regulated by the top-tier Australian Securities and Investments Commission (ASIC), offers the professional-grade tools and secure environment necessary for traders to thrive.
- Advanced Trading Platforms: Select the platform that aligns with your needs. Opofinance supports the industry-leading MT4 and MT5, the institutional-favorite cTrader, and their intuitive proprietary platform, OpoTrade.
- Innovative AI Tools: Gain a powerful analytical advantage with a suite of AI-driven tools. Use the AI Market Analyzer for opportunity scanning, receive actionable feedback from the AI Coach to refine your technique, and get instant answers from AI Support.
- Social & Prop Trading: Broaden your horizons with community and funding opportunities. Connect with other traders via social trading or prove your skills and trade funded capital through their prop trading programs.
- Secure & Flexible Transactions: Enjoy seamless and modern banking. Opofinance provides a range of secure deposit and withdrawal methods, including cryptocurrency payments, all with zero fees charged by Opofinance.
Ready to elevate your trading with professional tools? Explore the Opofinance advantage today.
Conclusion
The MACD and Bollinger Bands strategy is far more than just a random combination of indicators; it’s a complete trading methodology. It gives you a logical framework for attacking the market, ensuring that you trade with both volatility and momentum on your side. By mastering the Squeeze Breakout and the Reversal at Extremes, you’re equipped with a clear plan for trending and turning points alike. But remember, the ultimate success of this system rests on your shoulders. It is unlocked only through disciplined execution, rigorous risk management, and the commitment to practice. This isn’t a shortcut to riches, but a professional, rules-based system that can fundamentally improve your trading for years to come.
What are the best timeframes for the MACD and Bollinger Bands strategy?
This strategy is highly adaptable, but its reliability increases significantly on higher timeframes. The 4-hour, daily, and weekly charts are ideal because they filter out most of the market “noise” and produce signals that are far more meaningful and powerful.c
Can I use this strategy for scalping on a 1-minute chart?
While you technically can, it’s strongly advised against, especially for developing traders. The amount of false signals on such low timeframes is extremely high. The “Squeeze” setup, in particular, requires a clean period of consolidation that is rare and unreliable on 1-minute charts.
Do the default settings for MACD (12, 26, 9) and Bollinger Bands (20, 2) work best?
Yes, absolutely. For the vast majority of markets and timeframes, the standard settings are what these strategies were built on and are proven to be effective. It is a common mistake to endlessly tweak parameters; master the strategy with the default settings first.
What if the price breaks the Bollinger Band but the MACD doesn’t confirm?
The rule is absolute: if there is no MACD confirmation, there is no trade. You simply close the chart and move on. This is the most important filter in the entire system. Considering a trade without confirmation completely negates the strategy’s edge.
How does this strategy perform in a ranging or sideways market?
The Squeeze Breakout is specifically designed to profit from the *end* of a sideways market. The Reversal setup can work well at the edges of a clean, predictable range. However, in a truly choppy, directionless market with no clear structure, the best trade is often no trade at all. Patience is key.